什么是离屏渲染
离屏渲染(Off-Screen Rendering)指的是在GPU在执行图层的合成时,会在当前屏幕的缓冲区外创建一个新的缓冲区去执行此操作,这样的话当GPU进行图层渲染时,都会先将图层移到屏幕外的缓冲区去执行合成操作,然后在移回当前屏幕的缓冲区进行渲染,由于这种转换会发生在渲染的每一帧,所以如果当前屏幕如果有大量的图层需要执行离屏渲染操作时,那就会造成严重的性能问题,产生卡顿。其实离屏渲染是为了优化而生,只不过错误的使用才会导致卡顿的产生。
什么操作会产生离屏渲染
以下操在使用不当时可能会触发离屏渲染:
- shouldRasterize(光栅化)
- masks(遮罩)
- shadows(阴影)
- edge antialiasing(抗锯齿)
- group opacity(不透明)
以设置圆角为例,通常我们设置圆角的方法很简单:
1 | view.layer.cornerRadius = 5; |
只需要一行代码就可以轻松的设置圆角,效果如下图:
但是如果我们在当前view上又覆盖多个view,那么如果覆盖的view超出了圆角的范围,那么圆角的设置就失效了,为了避免这种情况的发生,我们可以为其加上一个属性:
1 | view.layer.masksToBounds = YES; |
执行代码,发现所有的子view都已经被设置了圆角,效果如下图:
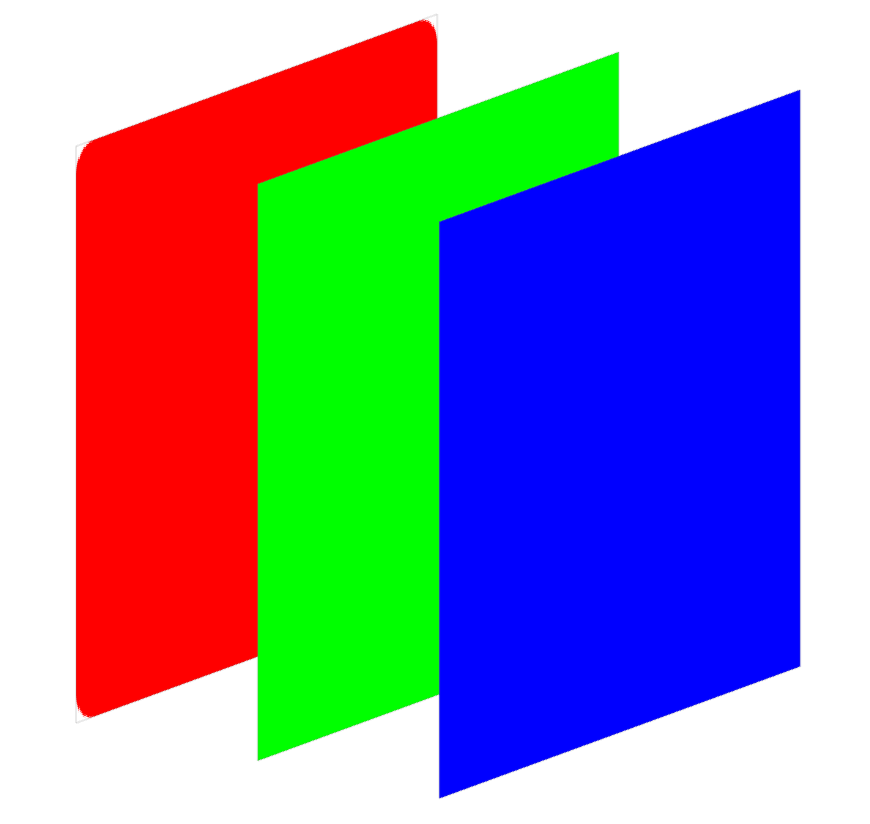
图片层次图:
看起来很完美,但是这个时候已经出发了离屏渲染,如果这个view足够多的话,就会造成非常明显的卡顿现象。
如何避免触发离屏渲染
还是以设置圆角为例,目前来看优化的方式有两种:
1.静态内容视图
对于静态的视图,由于其内部结构和内容不会发生改变,所以可以通过设置“Rasterization”属性的方式来优化性能。
2.动态内容视图
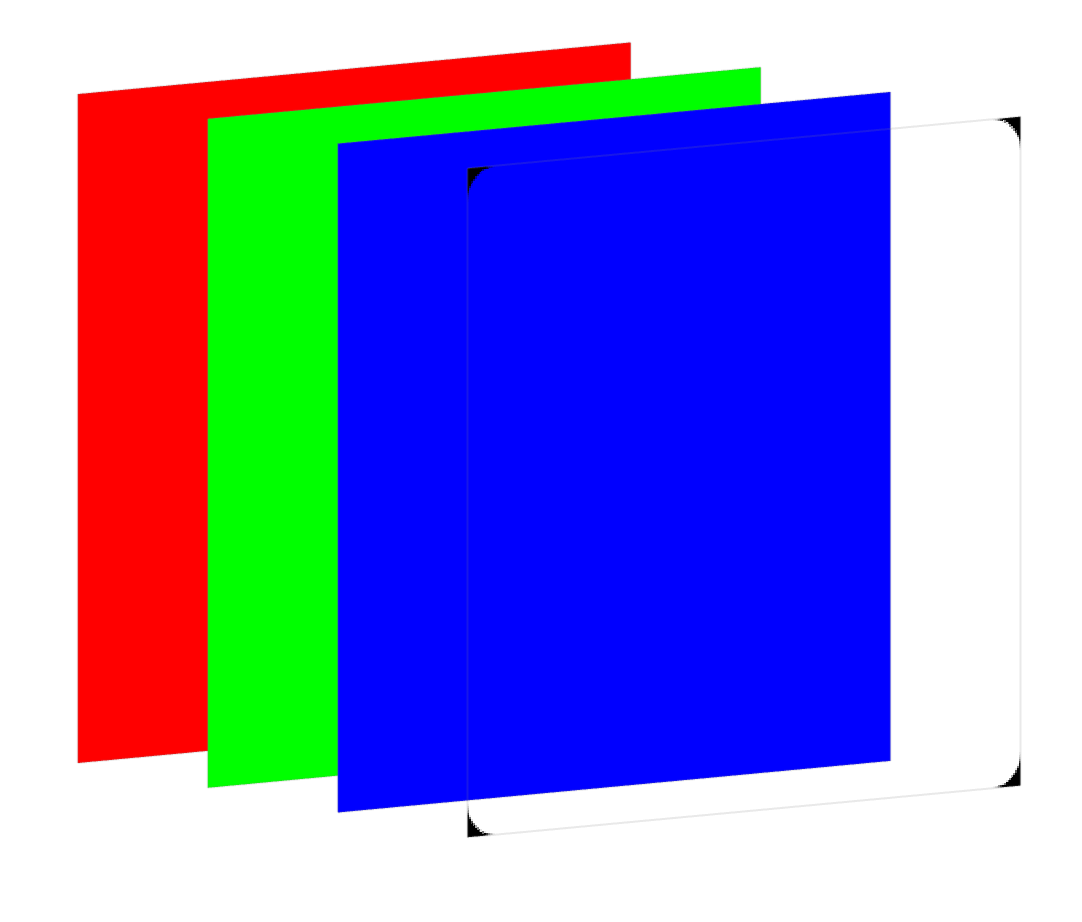
对于动态的视图,现在主流的解决方案是在view的最外层盖上一个圆角的遮罩,来达到设置圆角的目的,如下图:
这种方法简单粗暴,而且效果非常好,但是缺点就是对背景颜色有要求,因为是在view的最外层覆盖了一个圆角view,所以就要求圆角view的颜色必须和当前视图所在view的背景颜色一致,如果背景颜色是动态改变或者不是纯色背景,那就不适合这种方法。
下面给出一个生成圆角遮罩图的方法:
- (UIImage * ) drawRoundedCornerImageWithRadius:(CGFloat)radius Rectsize:(CGSize)rectSize BackgroundColor:(UIColor* ) backgroundColor {
    UIGraphicsBeginImageContextWithOptions(rectSize, NO, [UIScreen mainScreen].scale);
    CGContextRef currentContext = UIGraphicsGetCurrentContext();
    UIBezierPath *bezierPath = [[UIBezierPath alloc]init];
    CGPoint hLeftUpPoint = CGPointMake(radius, 0);
    CGPoint hRightUpPoint = CGPointMake(rectSize.width - radius, 0);
    CGPoint hLeftDownPoint = CGPointMake(radius, rectSize.height);
    CGPoint vLeftUpPoint = CGPointMake(0, radius);
    CGPoint vRightDownPoint = CGPointMake(rectSize.width, rectSize.height - radius);
    CGPoint centerLeftUp = CGPointMake(radius, radius);
    CGPoint centerRightUp = CGPointMake(rectSize.width - radius, radius);
    CGPoint centerLeftDown = CGPointMake(radius, rectSize.height - radius);
    CGPoint centerRightDown = CGPointMake(rectSize.width - radius, rectSize.height - radius);
    [bezierPath moveToPoint:hLeftUpPoint];
    [bezierPath addLineToPoint:hRightUpPoint];
    [bezierPath addArcWithCenter:centerRightUp radius:radius startAngle:M_PI * 3 / 2 endAngle:M_PI * 2 clockwise:true];
    [bezierPath addLineToPoint:vRightDownPoint];
    [bezierPath addArcWithCenter:centerRightDown radius:radius startAngle:0 endAngle:M_PI / 2 clockwise:true];
    [bezierPath addLineToPoint:hLeftDownPoint];
    [bezierPath addArcWithCenter:centerLeftDown radius:radius startAngle:M_PI / 2 endAngle:M_PI clockwise:true];
    [bezierPath addLineToPoint:vLeftUpPoint];
    [bezierPath addArcWithCenter:centerLeftUp radius:radius startAngle:M_PI endAngle:M_PI * 3 / 2 clockwise:true];
    [bezierPath addLineToPoint:hLeftUpPoint];
    [bezierPath closePath];
    [bezierPath moveToPoint:CGPointZero];
    [bezierPath addLineToPoint:CGPointMake(0, rectSize.height)];
    [bezierPath addLineToPoint:CGPointMake(rectSize.width, rectSize.height)];
    [bezierPath addLineToPoint:CGPointMake(rectSize.width, 0)];
    [bezierPath moveToPoint:CGPointZero];
    [bezierPath closePath];
    [backgroundColor setFill];
    [bezierPath fill];
    CGContextDrawPath(currentContext, kCGPathFillStroke);
    UIImage * antiRoundedCornerImage = UIGraphicsGetImageFromCurrentImageContext();
    UIGraphicsEndImageContext();
    return antiRoundedCornerImage;
}
再优化
覆盖一个圆角view已经可以非常完美的应付绝大多数情况的离屏渲染,但是每个view在生成的时候都要去调用一遍生成圆角的方法去重新绘制一个圆角view,也是一种性能的浪费,所以可以在这个基础上对画好的圆角view做一个缓存,如果后续的view需要一样的圆角view那就不需要重新绘制,只需要去内存中取已经画好的圆角view就可以了。